Serverless Form Handling With Netlify Form

Netlify Forms is a powerful feature offered by the Netlify platform that allows you to add forms to your static websites with ease. Using Netlify Forms, you can collect user data, such as contact information or feedback, without needing complex server-side code or infrastructure.
The key benefit of using Netlify Forms is its simplicity and convenience. It eliminates the need to set up and maintain a separate server or backend for form handling, making it ideal for static websites. With Netlify Forms, you can focus on building and designing your website while effortlessly capturing and processing user submissions.
How to
To use Netlify Forms, all you need to do is add the netlify attribute to your form tag.
Additionally, make sure to include the name attribute in the form to enable Netlify to distinguish between different form submissions.
<form name="contact" method="POST" netlify>
    <!-- your form -->
</form>
Trap some bot using honey pot
Being wary of bots that fill out forms on your website is essential because they can spam your system, compromise data integrity, exploit security vulnerabilities, and consume valuable resources.
Netlify form honeypot is a clever trick used to catch and block spam submissions on websites hosted by Netlify. It works by adding a hidden field to your form only bots can see. When a bot fills out the form, it fills in the hidden field as well, revealing its true nature. Netlify's system then detects this hidden field and automatically filters out those submissions as spam, keeping your website safe from unwanted spam messages.
Also, make sure that the netlify-honeypot attribute and the name attribute of the hidden input has the same value.
<form
  name="contact"
  method="POST"
  netlify-honeypot="bot-field"
  netlify
>
    <input name="bot-field" hidden>
    <!-- the rest of the form -->
</form>
Code in action
React app
Netlify Forms work by parsing the HTML file so if you are using React the step is slightly different. Here's how to do it.
The idea was to create two same forms. one in the index.html file that will be invisible to the user and the other one is in the js component. The attribute of those two form elements is quite the same. Two of them will have the same name attribute the difference is on the HTML one will have the netlify and hidden attribute. And also you need to add this hidden input in the js component form.
<input type="hidden" name="form-name" value="name_of_my_form" />
So here's some example
<!-- index.html -->
<form name="contact" netlify netlify-honeypot="bot-field" hidden>
    <input name="bot-field">

    <input type="text" name="name">
    <input type="email" name="email">
    <textarea name="message"></textarea>
</form>
<!-- app.js -->
<form name="contact" method="post">
    <input type="hidden" name="form-name" value="contact" />

    <p>
        <label htmlFor="name">Name</label> <br />
        <input type="text" name="name" required />
    </p>
    <p>
        <label htmlFor="email">Email</label> <br />
        <input type="email" name="email" required />
    </p>
    <p>
        <label htmlFor="message">Message</label> <br />
        <textarea name="message" required></textarea>
    </p>
    <p>
        <input type="submit" value="submit message" />
    </p>
</form>
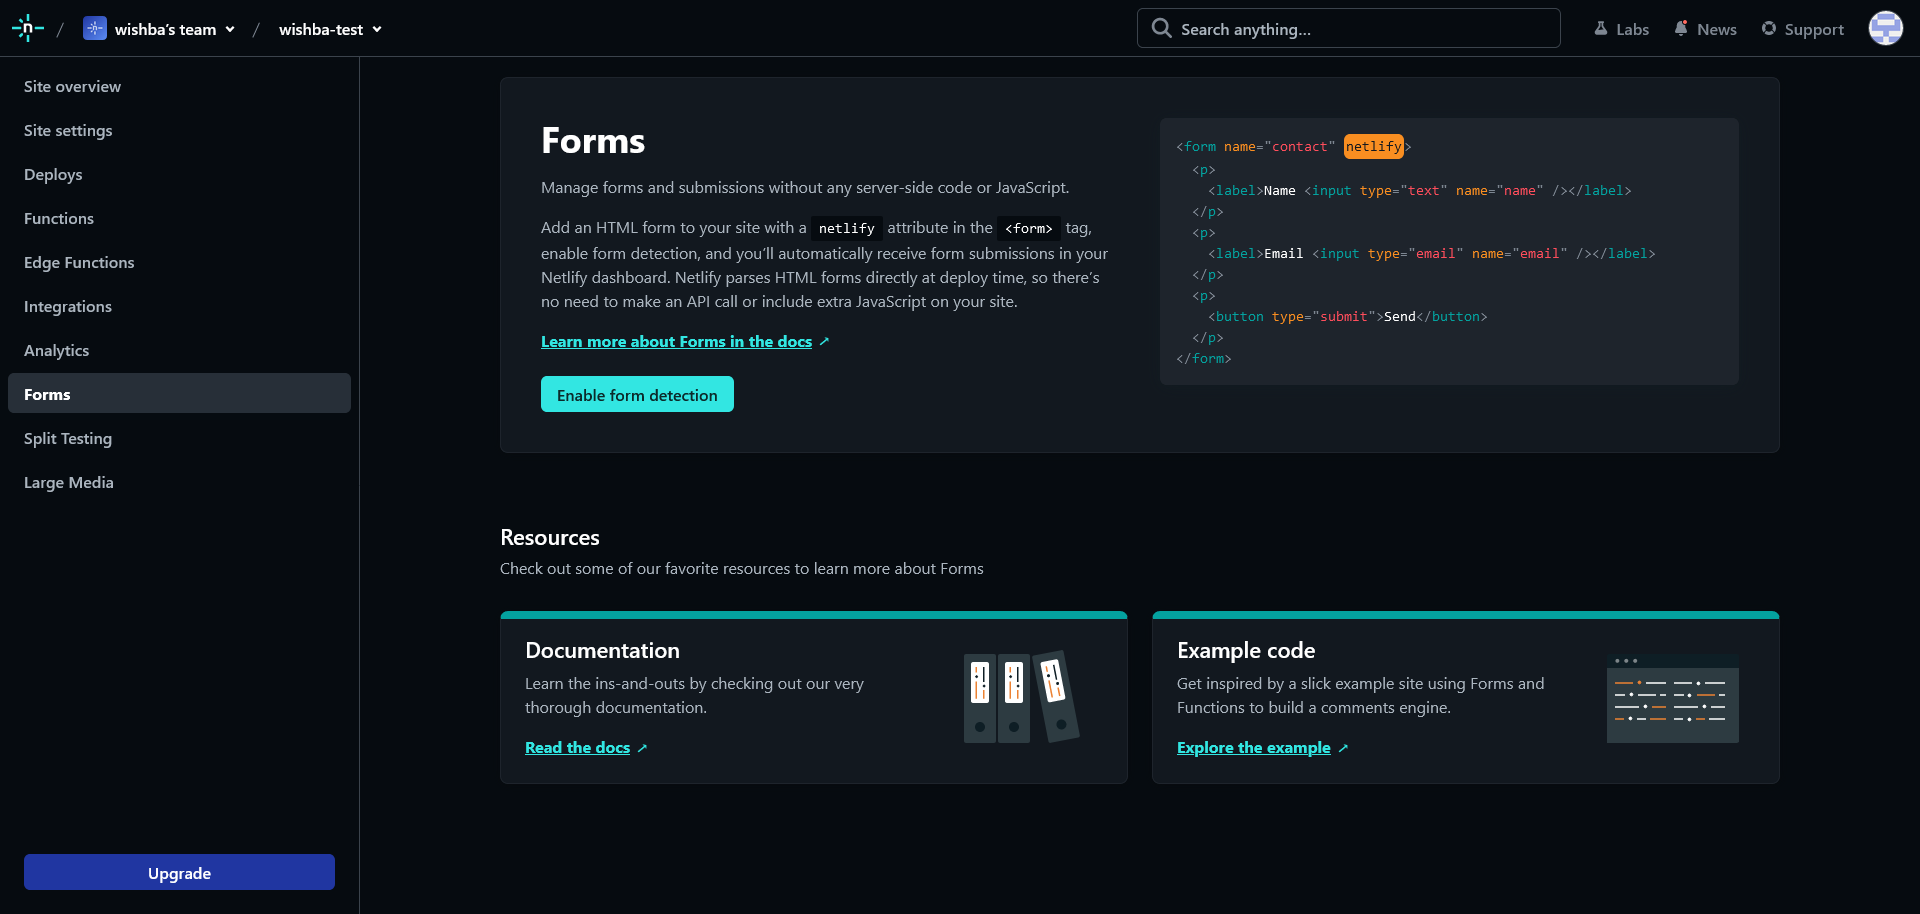
Let's test it out!
But the thing is, you can't test the form on the local server. So for the last step, let's deploy the code, put it on Netlify, and then go to the forms tab to enable the form.
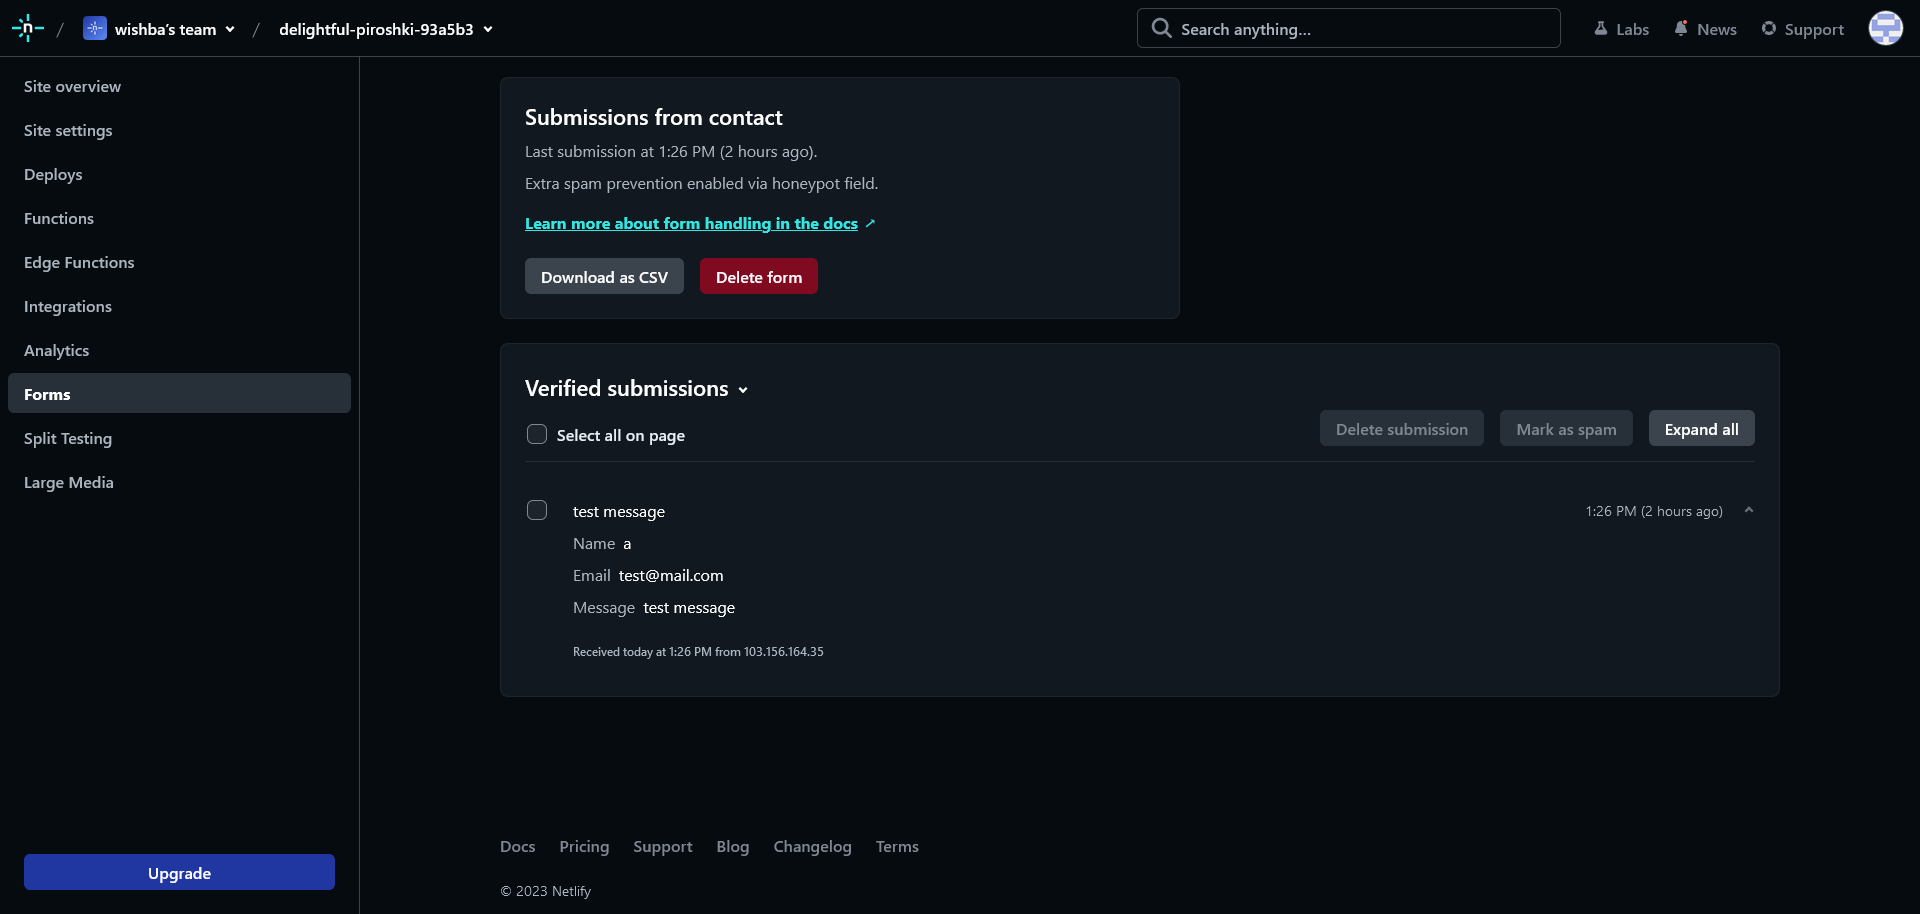
Later after the user send the form submission you can see it in that tab.
Conclusion
In conclusion, Netlify Forms is a game-changer when it comes to handling forms for static websites. Its simplicity and convenience make it an ideal choice for developers and designers who want to focus on creating engaging user experiences without worrying about server-side code or infrastructure.
Thank you for taking the time to read this article. Happy coding!


